
Drainage holes in pots are crucial to the plant’s health. However, most growers ask one question: are pots without drainage holes bad? This article will show why they aren’t bad when used on several plants such as pothos. But first, what are drainage holes?
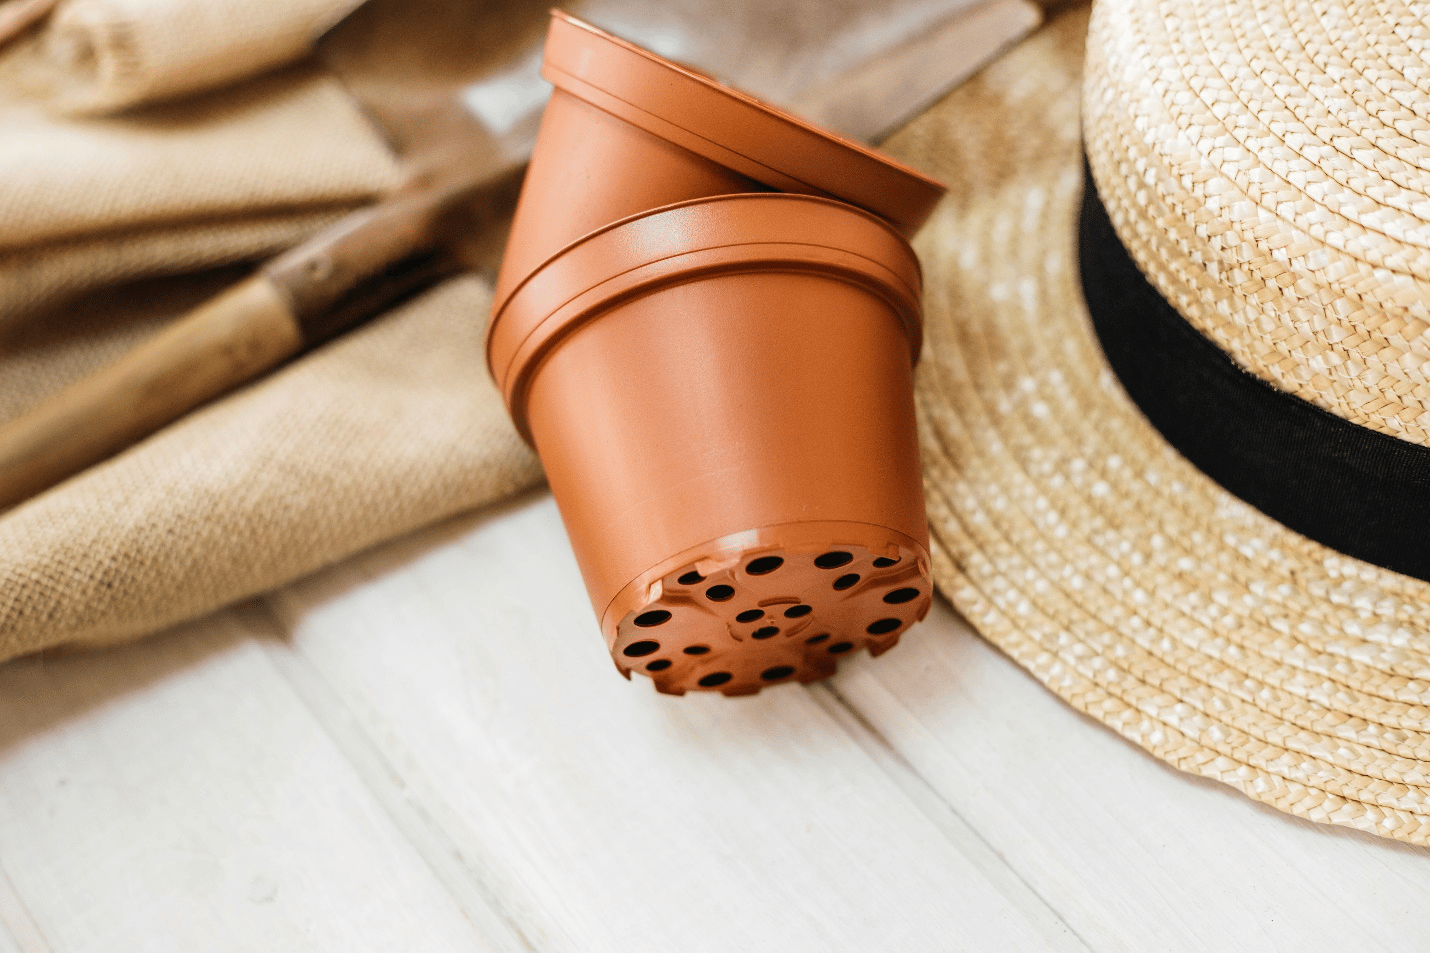
As the name suggests, drainage holes drain excess water from a pot. When you water your houseplant, the potting mix will absorb just the right amount of water while the rest settles at the pot’s bottom. Without drainage holes, excess water can cause the plant’s roots to rot, causing stunted growth or ultimate death.
Drainage holes allow this excess water to flow out of the pot, mitigating such scenarios. Some pots will have one large drainage hole, while others will have several small ones. There are other benefits of a pot having drainage holes. Let’s look at them.
So, why are drainage holes necessary?
● Prevent nutrient buildup
Inadequate drainage can cause a buildup of fertilizers and salts and, if left for an extended period, can become toxic to the plant. It can cause stunted growth or death. Drainage holes ensure that excess nutrients are flushed out of the potting mix. With nutrient buildup, your plant’s leaves will turn yellow reducing photosynthesis, hence slowed or no plant growth.
● Mitigates microbial growth
● Restraining invasive plants
Most invasive plants grow in dump soil. They compete with the primary plant for nutrients and water. It can cause your houseplant to lack adequate water and nutrients, leading to stunted growth. To avoid this, you must ensure proper pot drainage, mitigating invasive plants from spreading around the houseplant.

So, are pots without drainage holes bad? The simple answer: No.
Plants can still grow in pots without drainage holes. However, you’ll need to take precautions to ensure your plant’s health. Here are different ways to grow a plant in such as pot.
Placing a plant in a non-draining pot
It is the most basic trick you can use since it requires an extra pot only. You’ll need a planter and a cache pot. While the grow pot requires drainage holes, the cachepot should not have them. First, place the plant in the grow pot.
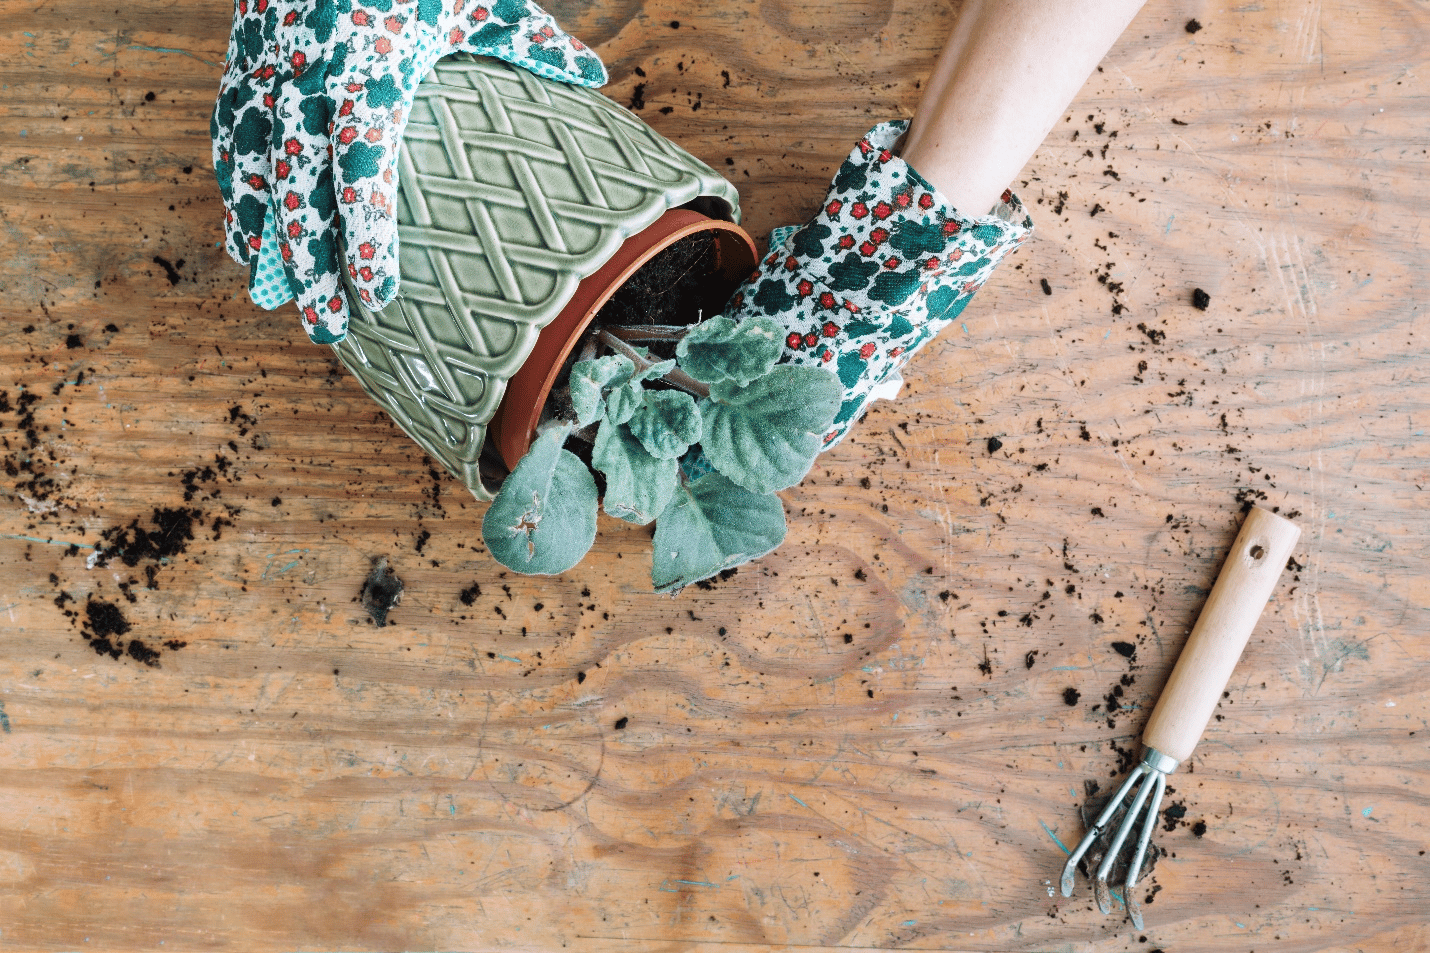
Next, put the grow pot in the cachepot, and you are good to go. You should, however, drain the excess water in the decorative pot. If possible, use a pot liner to avoid damaging the decorative pot.
Adding non-organic material as a base layer
If you don’t have a decorative pot, add non-organic material such as gravel or pebbles at the bottom of the grow pot. As mentioned, stagnant water at the bottom can cause root rot. However, if you place non-organic material, the water roots won’t rot.
You can add at least three layers of different materials, such as rocks, gravel, and hydro granules. The base layers lift the soil from the pot’s base mitigating standing water, hence healthier roots.
Placing the grow pot on a saucer
This method uses a decorative pot, a saucer, and a grow pot. First, place the saucer inside the decorative pot, ensuring it is leveled. Ensure the grow pot has drainage holes before placing it over the saucer.
Place the grow pot inside the decorative pot, ensuring it sits on the saucer. When you water your houseplant, the water will collect on the saucer. To empty the excess water, remove the grow pot and return it after emptying. This method is often for decorative purposes.
● Creating different drainage layers
Another effective but frown solution is creating different drainage layers in a non-draining pot. The layers allow the excess water to flow to the bottom of the pot gradually. However, it is not an ideal method for plants such as Ferns.
For this method to work, avoid overwatering your houseplant. Prepare the different drainage materials you use, such as rocks, active charcoal, and fresh soil.
Add the rocks first, as they are thicker than the other materials. Add a layer of active charcoal and ensure it covers the rocks. It prevents root rot. Finally, add a layer of fresh potting mix and place the plant on top of the soil.

As mentioned, there are several reasons why you need drainage holes in pots. And if they are non-draining, here is a step-by-step process to create drainage holes.
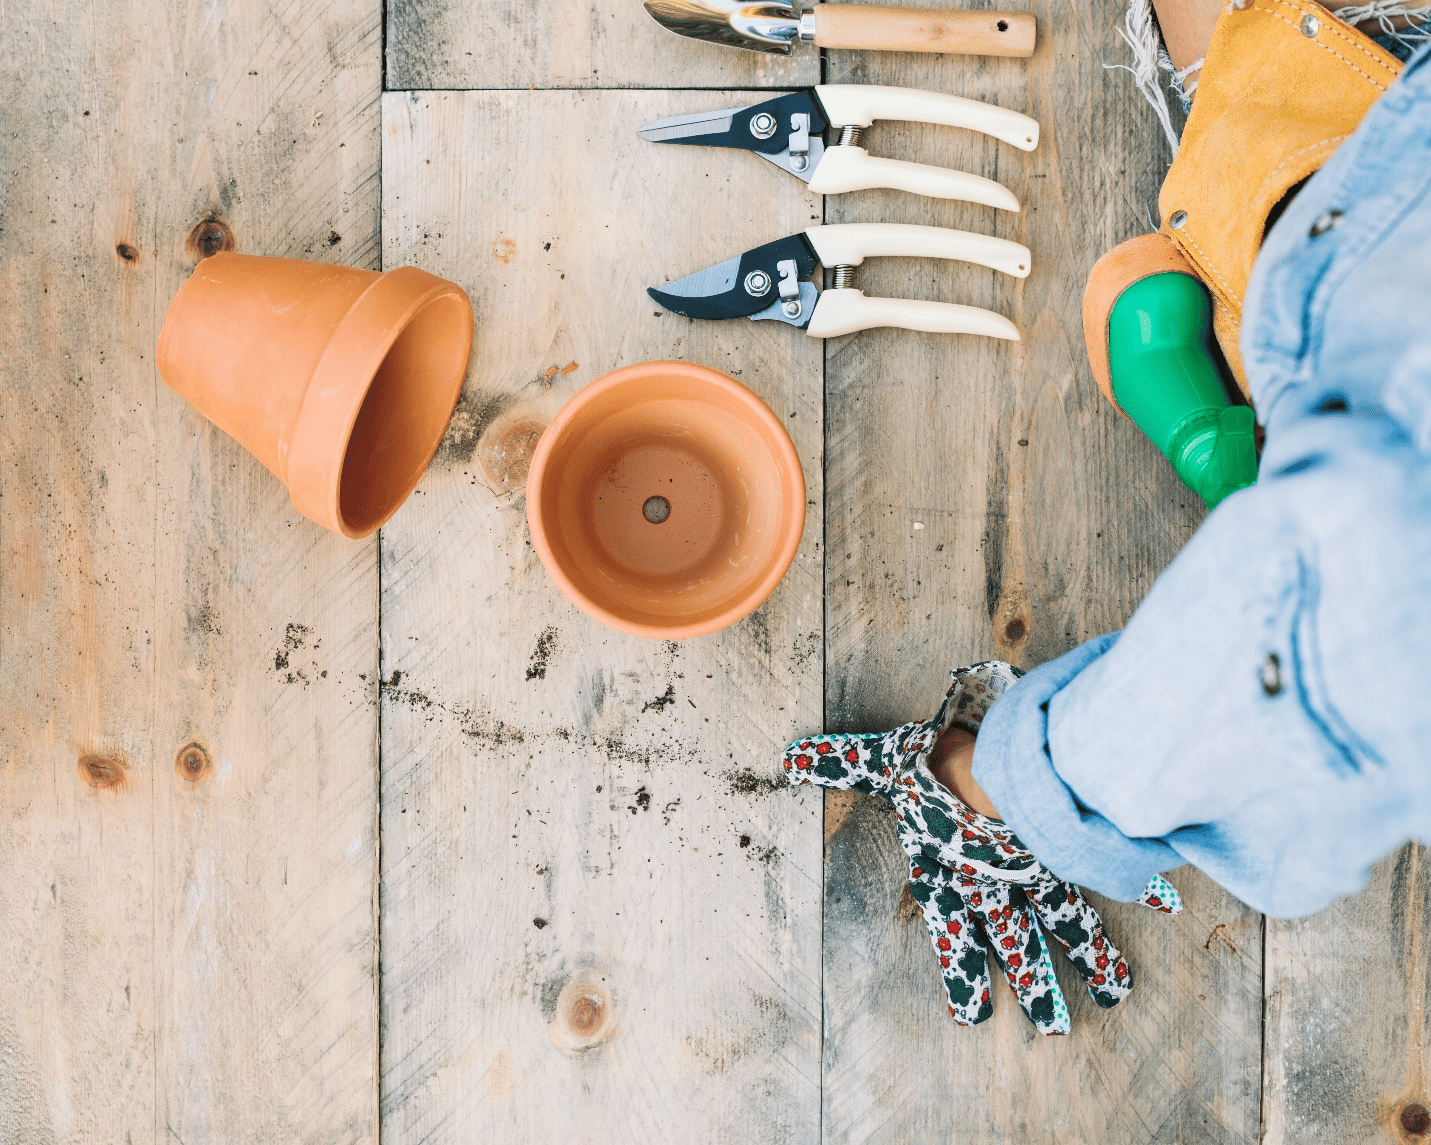
What you’ll need
With this at hand, it is time to make drainage holes. Pro tip: If you are working on an unglazed pot, it would be prudent to soak it overnight, making the drilling process seamless.

Drainage holes in pots are no doubt beneficial to the plant. But they can become impractical, especially if they are large. Often, they will allow the soil to fall out when moving your plants around. As such, you need to cover them to prevent such scenarios. Here are a few ways to go about it.
Using a coffee filter or similar material
The easiest method is to use a coffee filter. However, with this method, you will require a saucer or something similar. It works with not-so-heavy plants; those you can take to a sink, water, and let the water drain in the sink.
All you need is to cut a piece of a coffee filter to fit in the grow pot. Place it at the bottom of the pot, add fresh potting mix, and then add your plant. When you water your plant, the water will drain, although slowly. Since coffee filters break down quickly, you can use a more robust material, such as landscaping fabric.
Using clay or concrete
It is effective if you want to seal a drainage hole completely. While a controversial method, it is ideal for low-maintenance plants such as snake plants and succulents. All you need is clay or concrete mix, a bowl, and aluminum foil.
Place the pot over an aluminum foil or similar porous material. Next, mix the concrete in a disposable bowl, adding one part water for every four pieces of concrete you use. Once you achieve the desired consistency, pour it into the bottom of the pot and let it dry.
Once dry, remove the aluminum foil. The purpose of the pot sitting on the aluminum foil is to achieve uniform consistency at the base of the pot.
You can use clay if you don’t want to cover the holes permanently. Besides, it is less messy, and you can remove it whenever you want.
Using plugs
Another easy way to cover drainage holes is to use plugs. Some planters come with plugs, which allow you to add and remove the plug as needed. The downside to this method is it can be daunting to find the right size for your pot. You’ll also be forced to buy multiple plugs, which is unnecessary.
