If you’ve been looking over at that plant that needs some love but are too scared to know how to transplant a plant, then look no further. Release Pots is here with all of your questions answered. Transplanting a potted plant can be daunting. While it may seem like a small task for some, when it’s your favorite plant, the pressure is on.
Having your home filled with houseplants is one of the great joys in life. The best part about having houseplants is you really can’t have too many. Who knew adding greenery to every room could be so much fun?
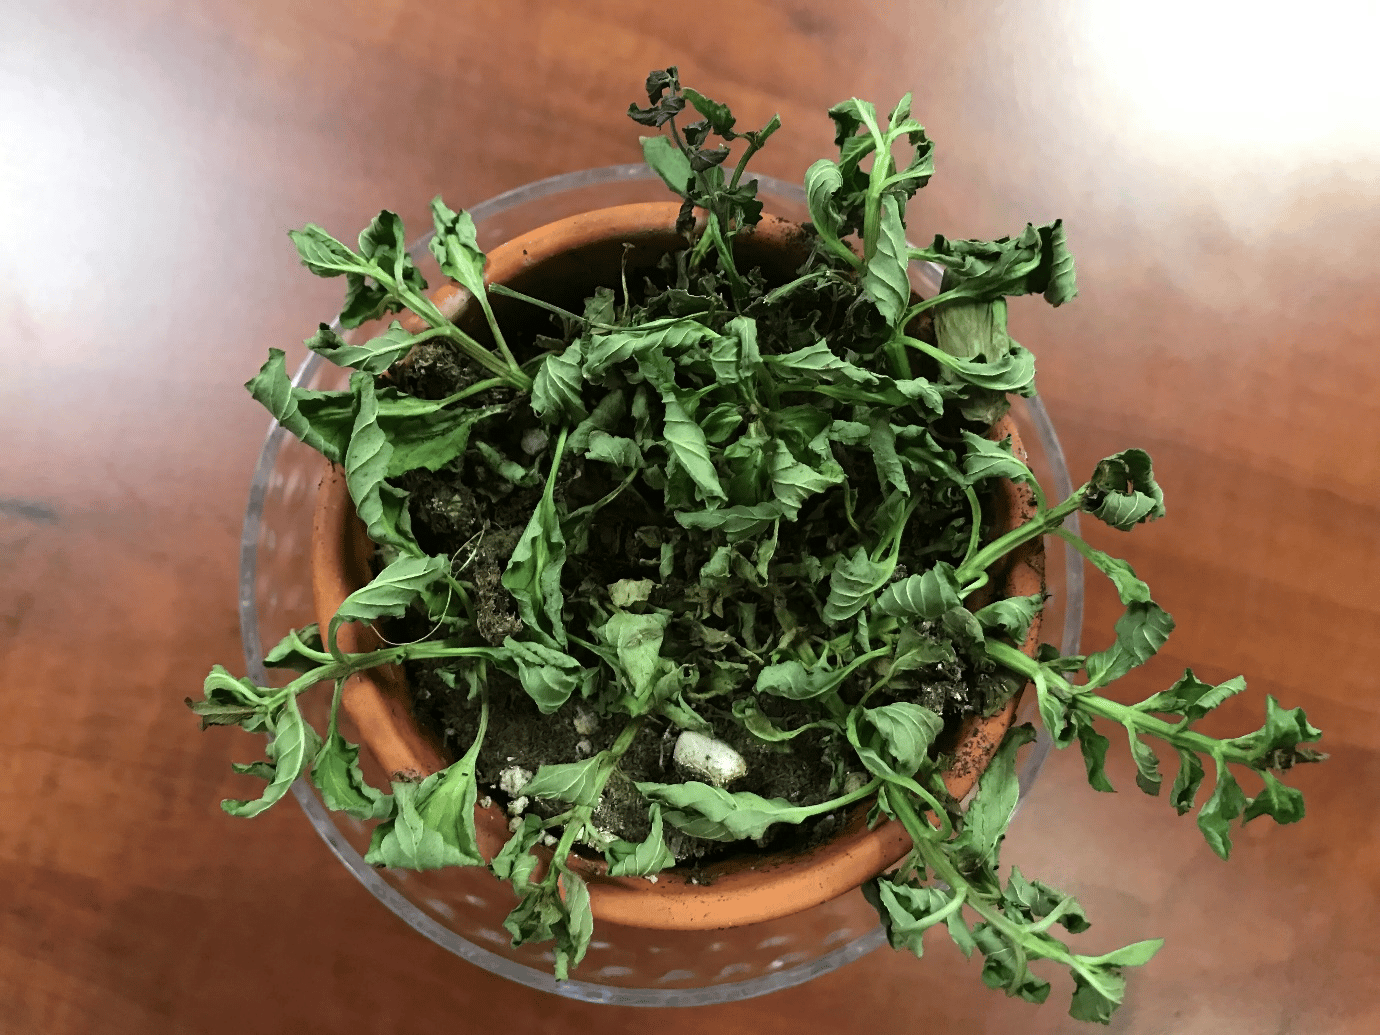
But it gets to a point where the plant starts slowing down in growth and isn’t looking green anymore but rather yellow and brown. These are some telltale signs to watch when deciding if your houseplant needs a new home.
Roots Growing Through The Existing Pot
Seeing those roots sticking out the bottom of the pot is a big sign that your plant needs a new home. Although you want your plant to grow to the restrictions of its current pot, you don’t want it to exceed this. When a plant becomes root bound, it will grow its roots right to the edges of the pot, with no more room to grow. Leaving your plant to become root bound can make for a tricky swap if you’re not using Release Pots.
Slower Growth
Unless it’s the middle of Winter, your houseplant shouldn’t be slowing down all that much in terms of growth. Slower growth without any reason behind it can be a sign of suffering without you even knowing it. This can be due to the roots being suffocated and not receiving the oxygen they need to ensure the plant is thriving.
Losing Leaves Or Yellowing Leaves
When your houseplant loses its leaves or the leaves start to turn yellow, while it’s a generalization this usually means there are issues with watering or the current pot it’s in is too small. Check your water situation and see what’s really going on in that soil. If the water isn’t affecting the plant, then it’s most likely the roots needing some more room. The roots are key to a healthy plant, so using pots like Release Pots is a great way to keep your houseplant happy and keep an eye on those roots.
Two Thirds Pot, One Third Plant
While this isn’t necessarily a sign, it’s definitely helpful when it comes to assessing each individual plant. Stick with the rule of thumb; you should have two thirds of pot to one-third plant. It needs to be repotted if you’ve got too much plant-to-pot ratio. But if you’ve not got enough pot for the little plant, you may need to size down. It’s a great way to keep the right proportions of a healthy houseplant.
When Is The Best Time To Transplant Plants
Before we get into the process of how to properly transplant a plant, we need to look at when is the best time to do so.
If your plant can hang out until Spring, then leave it until then. Springtime is the perfect time for transplanting. Not only is it when everything in nature is in full force, but it’s also the perfect temperature for plants. When you transplant a plant, you put it into shock. This is maximized even more so if you were to transplant during Winter. If you can’t wait until Spring to repot, then anytime during the warmer months will be your best bet.
How To: Transplant A Potted Houseplant, The Steps
These are our broken-down steps of how to properly transplant a houseplant.
1. Identify The Problem
As we’ve mentioned in the list above, there are signs to look for when determining if a houseplant needs to be repotted or not. As an added note, this process is much easier to complete if the soil is dry. This doesn’t mean you need to skip months of watering. However, consider skipping its weekly water the week before your transplant.
2. Prep Your New Pot
If you’re using Release Pots, go ahead and easily set up your pot. If not, make sure you’ve got the desired pot ready to go. In your desired pot, fill the bottom inch or so with soil and a small amount of fertilizer. How much soil you need for each plant will depend on the pot size.
3. Remove Plant From Existing Pot
If you’re not using a Release Pot, this is where it could get tricky. But if you happen to be using a Release Pot, you’re in luck, as they make this step easy and quick. For those who are using a regular plastic pot, you’ll want to gently squeeze the side of the pot, loosening the roots. Roots should easily come away from the sides of the pot. Once you’ve loosened the soil, place your hand gently over the top of the soil, carefully holding the plant in place, and tip the plant upside down. The plant should fall out gently into your hand.
4. Put Into New Pot
Once the plant is gently in your hand, this is where you can carefully place it into its new pot. When you complete this step, be sure to separate the roots gently, so they have room to grow. This can be done gently with a small hand rake, or with your hands working perfectly. Once you’ve placed the plant in its new pot, add some soil to fill in the gaps.
5. Water And Sunlight
Once you’re happy with how your new plant is looking in its new home, give it some much-needed water and sunlight. Your plant will go into temporary shock after being transplanted, so it’s time to give it all of the much-needed love and care.
Final Thoughts
Release Pots is a fantastic solution when transplanting pots and needing to keep plants healthy. Not only are you able to ensure the plant’s root ball is kept intact when repotting, but you’re also able to ensure correct drainage, keeping those roots and plant happy. So, if you’re wondering the best way to transplant a houseplant or how to transplant a plant, Release Pots is your ideal solution
Leave A Message
If you would like us to contact you, please fill out the form below and we will get back to you soon.